
 Pin it
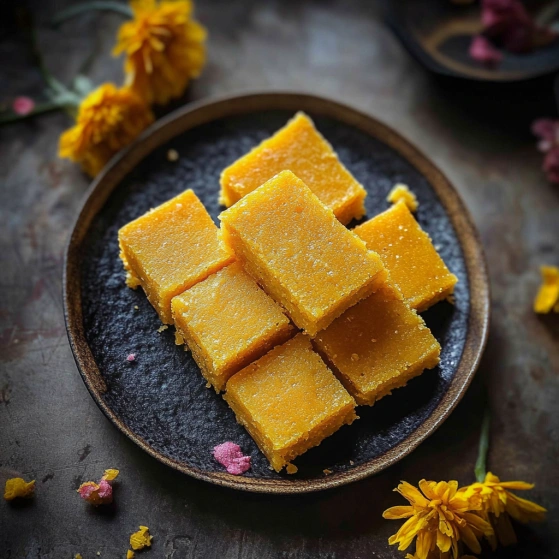
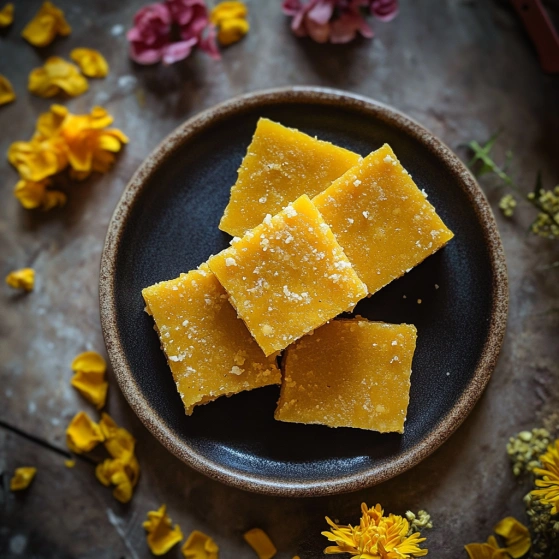
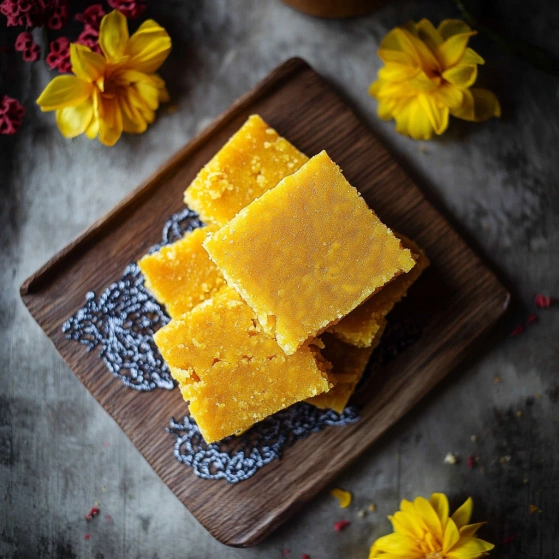
This traditional Mysore Pak recipe transforms simple chickpea flour into a decadent, melt-in-your-mouth Indian sweet that's surprisingly easy to make in your microwave. My grandmother taught me this shortcut version, and I've adapted it to be vegan-friendly without losing any of that authentic flavor or luxurious texture.
I first made this during Diwali celebrations years ago, and it's become my signature dessert that friends request whenever they visit. The joy on their faces when they taste homemade Mysore Pak is absolutely priceless.
Ingredients
- Chickpea flour (besan): Provides the distinctive flavor and texture foundation crucial for authentic Mysore Pak
- Ghee (melted): The key to that melt in your mouth quality, choose high quality for best results
- Powdered sugar: Creates the perfect sweetness without grittiness, sift for the smoothest texture
- Raw sugar (optional): Adds a delightful crunch contrast on top, use demerara for best results
Step-by-Step Instructions
- Prepare Your Base:
- Thoroughly grease a plate with ghee, ensuring complete coverage to prevent sticking. Mix the sifted chickpea flour with 1 teaspoon ghee in a microwave-safe bowl until completely combined. Microwave for one minute total, stopping halfway to stir, which properly toasts the flour to remove the raw taste and develop nutty flavors.
- Create The Mixture:
- Add remaining melted ghee and mix thoroughly, then incorporate powdered sugar. The mixture will initially appear thick and somewhat dry, but this is normal at this stage. The ghee will gradually integrate during cooking to create the signature texture.
- First Cooking Phase:
- Microwave for 45 seconds, then remove and stir vigorously. You'll notice the ghee beginning to separate and pool around the edges, which is exactly what you want. This helps create those characteristic layers in the final product.
- Develop The Texture:
- Return to microwave for another 30 seconds. The mixture will start bubbling up and become frothy, indicating the sugar is dissolving properly and the mixture is cooking evenly. This creates the signature porous texture Mysore Pak is known for.
- Final Cooking:
- Complete with a 15-second microwave interval, stirring immediately afterward. The mixture should now have a glossy appearance with ghee floating on top, which is perfect. This final cooking ensures the right consistency when cooled.
- Transfer And Set:
- Quickly pour the hot mixture onto your prepared ghee-greased plate and spread evenly. Sprinkle raw sugar on top if desired. Allow to cool at room temperature for about 20 minutes as the ghee slowly reabsorbs into the mixture, creating that melt-in-your-mouth texture.
 Pin it
My favorite part of making Mysore Pak is watching my family members hover around the kitchen, waiting impatiently for it to set. There's always that one person who tries to sneak a piece before it's fully cooled, only to discover the magic happens in the waiting.
Storage Wisdom
Mysore Pak stays fresh at room temperature for up to a week when stored in an airtight container. For longer storage, refrigerate for up to three weeks, but always bring to room temperature before serving to enjoy that perfect melt-in-your-mouth texture. Place parchment paper between layers to prevent sticking and preserve the delicate structure of each piece.
Troubleshooting Tips
If your Mysore Pak seems too soft after cooling, it likely needs more cooking time. Next attempt, add 15-second intervals until the mixture develops a slightly darker golden color. Conversely, if it's too hard or brittle, you've likely overcooked it or used too little ghee. Remember that the mixture should be glossy and flowing when transferred to the cooling plate.
Cultural Significance
Mysore Pak originated in the royal kitchens of Mysore Palace in southern India, created by a royal chef named Kakasura Madappa. What began as a royal delicacy eventually became a beloved treat across India, especially during festivals like Diwali and special occasions. The name itself reflects its origins, with "Mysore" referencing the city and "Pak" meaning sweet dish in many Indian languages.
 Pin it
Frequently Asked Questions
- → Can I make Mysore Pak without a microwave?
Yes, you can make Mysore Pak on the stovetop. Roast the chickpea flour in a heavy-bottomed pan until aromatic, then add melted ghee and sugar. Cook on low heat, stirring continuously until the mixture reaches the right consistency. Pour into a greased plate and follow the remaining cooling instructions.
- → Why is there so much ghee floating on top after cooking?
The excess ghee is essential to the authentic texture of Mysore Pak. As the mixture cools, the chickpea flour gradually absorbs the ghee, resulting in the signature soft, melt-in-mouth consistency. Avoid draining the ghee, as it's crucial for the proper texture and flavor.
- → How long does Mysore Pak stay fresh?
When stored in an airtight container, Mysore Pak can last for up to 2 weeks at room temperature in cool weather. In warmer climates, it's best to refrigerate after 3-4 days. The ghee content acts as a natural preservative.
- → What is the difference between vegan and regular ghee in this dessert?
The main difference is that vegan ghee takes slightly longer to be absorbed into the chickpea flour mixture than dairy ghee. However, both produce excellent results with similar taste and texture. The vegan version makes this traditional sweet accessible to those following plant-based diets.
- → Why do you need to roast the chickpea flour first?
Roasting the chickpea flour is crucial as it removes the raw flavor, enhances the nutty taste, and ensures proper cooking. This step prevents the flour from forming lumps when combined with ghee and sugar, and contributes to the distinctive flavor profile of Mysore Pak.
- → Can I adjust the sweetness level?
Yes, you can adjust the amount of powdered sugar based on your preference. The raw sugar sprinkled on top is optional and can be omitted for a less sweet version. However, maintain the same ratio of chickpea flour to ghee for proper consistency.