
 Pin it
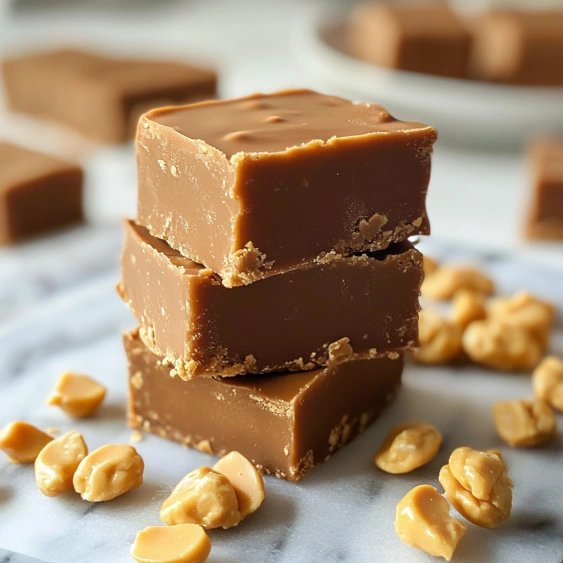
This decadent microwave peanut butter fudge has been my secret weapon for last-minute entertaining for years. With just five simple ingredients and minimal effort, you'll have an impressive homemade treat that everyone will think took hours to make.
I first made this recipe when my oven broke right before a holiday party. The guests raved about it so much that I've never bothered with complicated stovetop fudge recipes since.
Ingredients
- White chocolate chips: create the perfect creamy base and provide structure as they set
- Creamy peanut butter: adds rich flavor and velvety texture; use a commercial brand like Jif or Skippy for consistent results
- Sweetened condensed milk: provides sweetness and the signature fudge texture without any cooking complications
- Salt: enhances all the flavors and balances the sweetness; look for kosher or sea salt for best results
- Vanilla extract: adds depth and warmth; choose pure vanilla for the cleanest flavor
Step-by-Step Instructions
- Prepare the Pan:
- Line your square baking pan with aluminum foil or parchment paper making sure to leave some overhang on the sides for easy removal. This step is crucial for clean cutting later.
- Combine Ingredients:
- Place all ingredients in a microwave safe glass bowl. Use a deep bowl that allows room for stirring without spilling. Make sure your bowl is truly microwave safe as plastic can warp or leach chemicals.
- First Microwave:
- Microwave for exactly 1 minute on 50% power. This gentle heating prevents scorching the chocolate. The mixture will look mostly unmelted at this stage which is perfectly fine.
- Stir and Continue Heating:
- Stir the partially melted mixture thoroughly then microwave for another 30 to 45 seconds at 50% power. The mixture should now be mostly melted but may still have a few small lumps.
- Final Melting:
- Stir vigorously until smooth. If any unmelted pieces remain microwave for an additional 30 to 45 seconds at 50% power. The mixture should now be completely smooth with a glossy appearance.
- Pour and Smooth:
- Quickly transfer the fudge mixture to your prepared pan. Use a silicone spatula to spread it evenly paying special attention to pushing it into the corners. The surface should be smooth and level.
- Cooling Process:
- Allow the fudge to set at room temperature for 2 to 3 hours. For cleaner cuts chill in the refrigerator for 30 minutes before slicing into perfect squares.
 Pin it
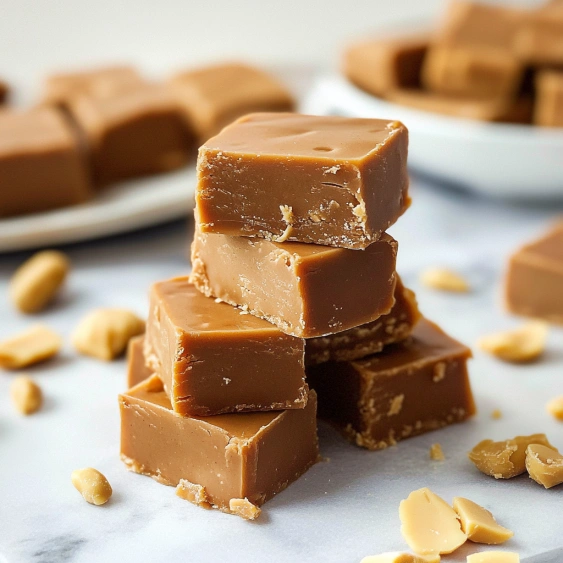
The sweetened condensed milk is truly the magic ingredient in this recipe. My grandmother taught me that it's the secret to foolproof fudge every time. One Christmas, my power went out midway through making this fudge, but the residual heat from the already warm mixture was enough to finish melting everything perfectly.
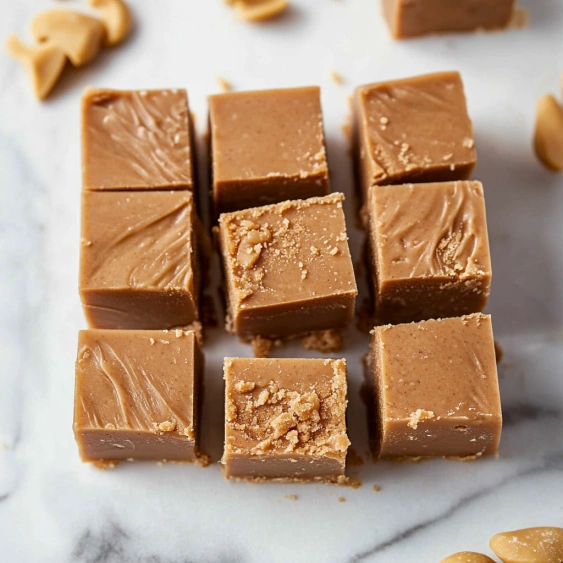
Texture Troubleshooting
Achieving the perfect fudge texture depends largely on not overheating your mixture. If your fudge turns out too soft or fails to set properly, you likely needed to heat it slightly longer. Conversely, if your fudge seems dry or crumbly, you may have overheated the mixture. The key is watching carefully during those final heating seconds and stirring thoroughly between each microwaving interval.
Creative Variations
This base recipe welcomes endless creativity. Try swirling in a tablespoon of raspberry jam before setting for a PB&J inspired treat. For chocolate lovers, replace half the white chocolate chips with semi sweet chocolate chips. Holiday versions can include crushed candy canes on top or a drizzle of melted chocolate. My personal favorite is adding a quarter cup of crushed graham crackers for a s'mores inspired version that reminds me of childhood campfires.
 Pin it
Gifting Ideas
This fudge makes a thoughtful homemade gift that feels special yet requires minimal effort. Cut into perfect squares and layer in a decorative tin between pieces of parchment paper. For holiday gifts, consider cutting with cookie cutters into festive shapes before fully set. Pair with a handwritten recipe card for a personal touch. I once made batches for my entire office, individually wrapped pieces with colorful cellophane, and became instantly popular with all my coworkers.
Frequently Asked Questions
- → How long does this peanut butter fudge last?
The fudge will last 2-3 weeks in an airtight container at room temperature. For longer storage (up to 4 weeks), keep it in an airtight container in the refrigerator.
- → Can I freeze peanut butter fudge?
Yes! Chill the fudge in the refrigerator for 1 hour, then wrap tightly in plastic wrap and place in a freezer bag. Frozen fudge keeps well for up to 3 months. Thaw in the refrigerator for 24 hours before serving.
- → What if my white chocolate doesn't melt completely?
If your mixture isn't fully melted after the initial microwave time, continue microwaving in 30-45 second intervals at 50% power, stirring between each interval until completely smooth.
- → Can I use crunchy peanut butter instead of creamy?
While the recipe calls for creamy peanut butter, you can substitute crunchy peanut butter for added texture. Just be aware that the fudge will have a different consistency with small peanut pieces throughout.
- → Why does the recipe recommend chilling before cutting?
Chilling the fudge in the refrigerator for about 30 minutes before cutting helps firm it up, resulting in cleaner, more precise cuts and less crumbling.