
 Pin it
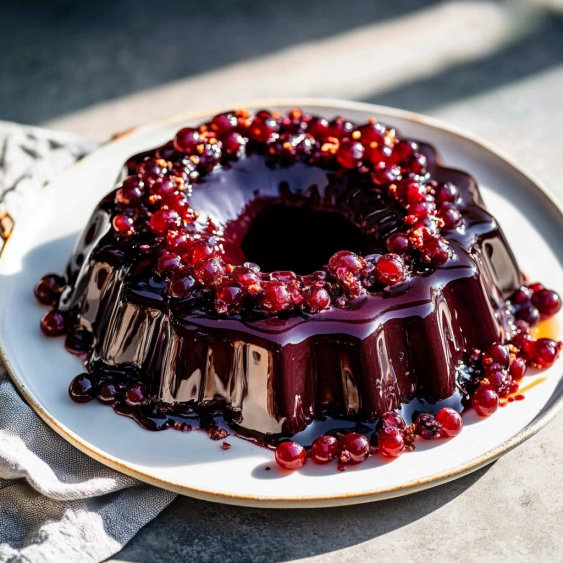
This vibrant homemade jello will transform your dessert experience with its fresh flavors and customizable options. Using real fruit juice instead of artificial powders creates a treat that's both nostalgic and surprisingly sophisticated.
I discovered this recipe when trying to create healthier versions of childhood favorites for my kids. Now it's our go-to dessert for summer gatherings, and guests are always surprised to learn it's made from scratch.
Ingredients
- 6 cups juice (48 ounces): Choose high-quality 100% fruit juice for the best flavor. Apple, grape, and cranberry work beautifully, but feel free to experiment with combinations.
- 3 tablespoons gelatin (plus 2 teaspoons for firmer jello): Use unflavored gelatin from the baking aisle. The quality matters here as it affects the final texture.
Step-by-Step Instructions
- Heat the Base:
- Warm 1/2 cup of your chosen juice in a small saucepan until hot but not boiling. The liquid needs to be hot enough to dissolve the gelatin but boiling can reduce the setting power of gelatin.
- Bloom the Gelatin:
- Transfer the gelatin to a small bowl and pour the heated juice over it. Whisk thoroughly to combine, eliminating any lumps. Allow the mixture to sit while continuing to stir occasionally until the gelatin is completely dissolved. This step is crucial for a smooth texture without granules.
- Combine and Set:
- Add the remaining juice to your gelatin mixture and whisk until fully incorporated. Pour the liquid into your chosen mold, cover with plastic wrap or a lid, and refrigerate for at least 8 hours or overnight. Patience is key here as rushing the setting process will affect the texture.
- Serve and Enjoy:
- Once completely firm, slice the jello into portions. For an extra special presentation, top with fresh fruit that complements your chosen juice flavor. A mint garnish adds a beautiful color contrast.
 Pin it
The transformative moment for this recipe came when I served it at my daughter's birthday party with various juice flavors in individual cups. The children were delighted by the vibrant colors and parents appreciated the wholesome ingredients.
Flavor Variations
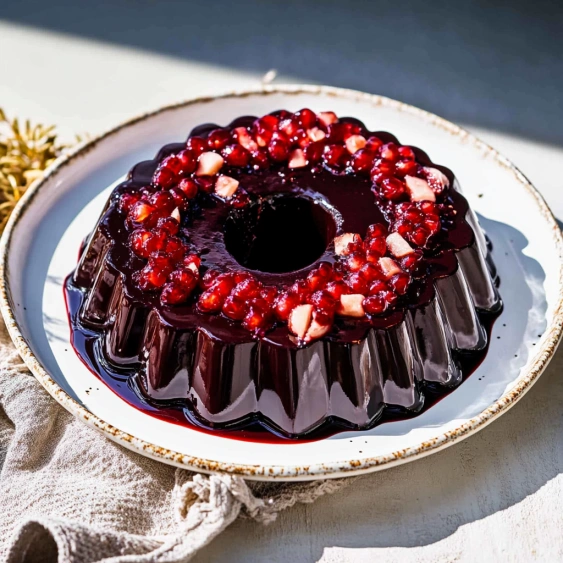
Experiment with different juice combinations to create unique flavor profiles. Try apple-cranberry for a tart treat, pomegranate-blueberry for an antioxidant boost, or pineapple-orange for tropical flair. Just ensure whatever juice you select contains enough natural sugar to balance the gelatin's neutral taste.
Troubleshooting Tips
If your jello isn't setting properly, several factors could be at play. First, ensure you're using the correct gelatin-to-liquid ratio. Second, check that your juice wasn't boiling when added to the gelatin, as excessive heat can damage gelatin's setting properties. Finally, some fresh juices contain enzymes that prevent proper setting, so briefly cooking these juices first can solve the problem.
Unmolding Secrets
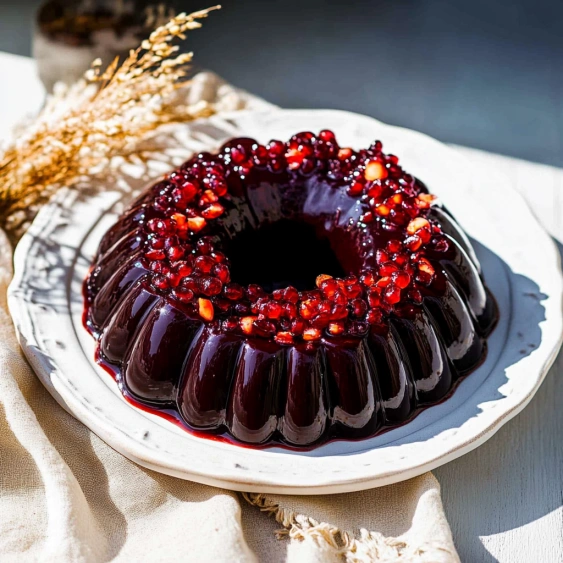
The trickiest part of homemade jello can be removing it from the mold intact. For best results, dip the mold in warm water for 5-10 seconds, then run a thin knife around the edge. Place your serving plate upside down on top of the mold, then flip everything over in one swift motion. Gently shake to release the jello onto the plate.
 Pin it
Serving Suggestions
Transform this simple dessert into an elegant finale by serving in clear glass dishes with whipped cream and fresh berries. For a fun kiddie version, pour the liquid jello into orange halves with the fruit removed, then slice into "jello oranges" once set. You can also create layers of different flavors by allowing each layer to set before adding the next.
Frequently Asked Questions
- → What types of juice work best for homemade jello?
Almost any juice works well for homemade jello. Clear juices like apple, white grape, cranberry, and fruit punch create vibrant colors. For best results, use 100% juice rather than juice cocktails with added sugar. Acidic juices like orange or pineapple may require slightly more gelatin for proper setting.
- → Can I make this with sugar-free juice?
Yes, sugar-free or diet juices work perfectly for making homemade jello. This is a great option for those looking to reduce sugar intake while still enjoying a sweet treat. The gelatin will set the same way regardless of the juice's sugar content.
- → How long does homemade jello last in the refrigerator?
Homemade jello typically lasts 7-10 days when stored properly in an airtight container in the refrigerator. If you've added fresh fruit toppings, consume within 3-4 days as the fruit will deteriorate faster than the jello itself.
- → Why is my homemade jello not setting properly?
If your jello isn't setting properly, there are a few possible reasons: the gelatin wasn't fully dissolved, the juice was too hot when mixing with the remaining cold juice, or certain enzymes in fresh pineapple, kiwi, or papaya juice prevented setting. Try increasing the gelatin slightly or using cooked juice versions of these fruits.
- → Can I make layered jello with different flavors?
Yes! To create layered jello, prepare one flavor and let it set until just firm to the touch (about 1-2 hours). Then prepare the next flavor, let it cool until no longer hot but still liquid, and gently pour over the first layer. Repeat for as many layers as desired, allowing each to set partially before adding the next.
- → What's the best mold to use for homemade jello?
You can use virtually any container as a jello mold - from dedicated jello molds to glass baking dishes, silicone molds, or even regular food storage containers. For easy removal, lightly coat the mold with cooking spray before pouring in the liquid, or briefly dip the outside of the mold in warm water before unmolding.