
 Pin it
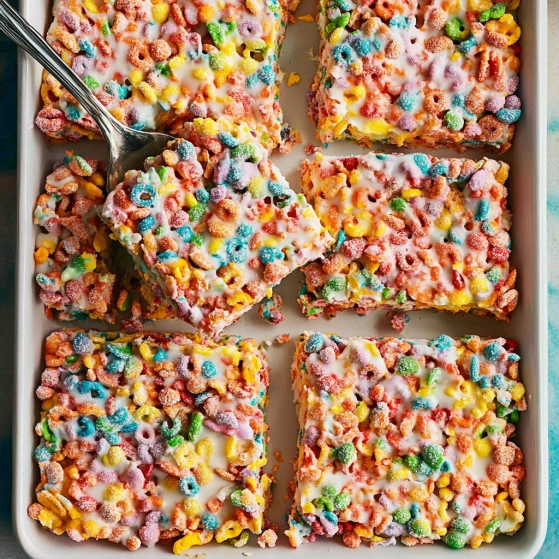
This vibrant twist on classic rice krispy treats transforms everyday cereal into a nostalgic dessert that brings me right back to Saturday morning cartoons. The brown butter elevates these bars from a simple treat to something truly special, adding nutty depth that perfectly balances the sweet fruitiness.
I first made these for my nephew's birthday party when the oven broke down unexpectedly. They were such a hit that they've become my most requested contribution to family gatherings, even outshining my fancy baked goods!
Ingredients
- Fruity Pebbles cereal: 6 cups adds vibrant color and fruity flavor that makes these treats instantly recognizable
- Rice Krispies: 4 cups provides the perfect texture balance so the treats aren't overwhelmingly sweet
- Mini marshmallows: 20 oz (two 10 oz bags) creates the ideal chewy yet firm binding texture
- Butter: 1 cup browning it creates an incredible nutty flavor that elevates these simple treats to something special
Step-by-Step Instructions
- Prepare the Brown Butter:
- In a large pot over medium heat, melt your butter completely. Watch carefully as it begins to bubble and foam. The color will transition from yellow to golden to a beautiful amber brown very quickly. Once you see that nutty brown color and smell the toasty aroma, immediately remove from heat to prevent burning. This transformation usually takes about 5-7 minutes total.
- Melt the Marshmallows:
- Immediately add all marshmallows to the hot brown butter. The residual heat will begin melting them. Gently toss them in the butter for about 30 seconds until they become smooth and fully melted. Be careful not to overheat, as this can make your treats tough rather than chewy.
- Add the Cereals:
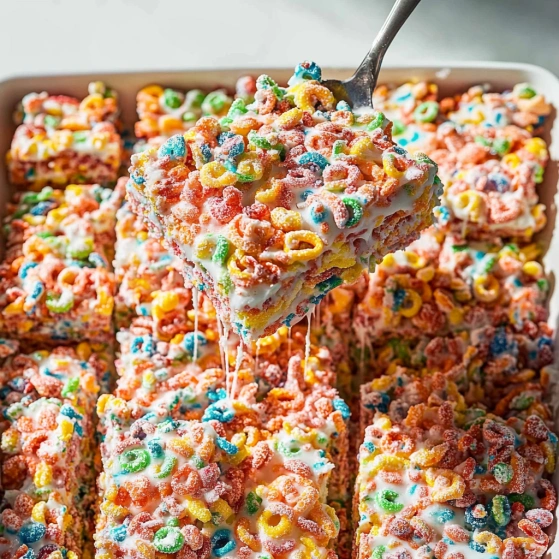
- Working quickly, add both Rice Krispies and Fruity Pebbles to the marshmallow mixture. Use a sturdy wooden spoon or silicone spatula to fold everything together until all cereal is completely coated with the marshmallow mixture. The vibrant colors will begin to swirl together creating a beautiful rainbow effect.
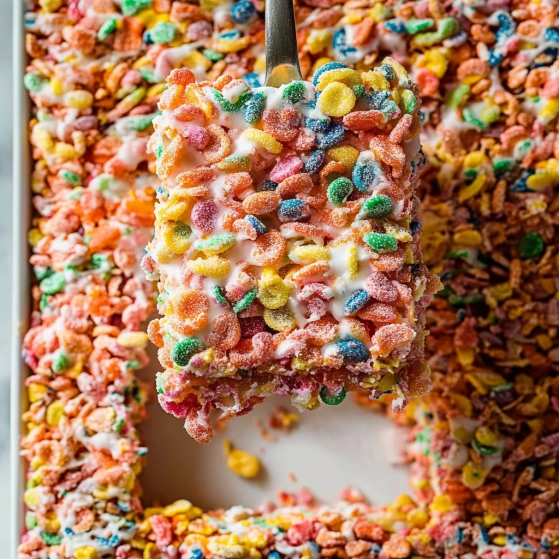
- Shape and Set:
- Immediately transfer the mixture to a 9x13 pan. For easier removal later, you can line it with parchment paper first. Use a piece of wax paper or a silicone spatula lightly coated with cooking spray to gently press the mixture evenly into the pan. Avoid pressing too hard which can make treats dense and tough. Allow to cool completely before cutting into squares.
 Pin it
Brown butter was my accidental discovery when I got distracted during a phone call while making these treats. That wonderful nutty aroma filled my kitchen, and I realized I had stumbled onto something magical. Now my family refuses to eat rice krispy treats made with regular melted butter!
Perfecting Your Brown Butter
Brown butter is the secret weapon in this recipe. When butter melts, the milk solids separate and begin to toast, creating complex caramel and nutty flavors. Watch carefully as it bubbles and foams. The transition from golden to brown happens quickly! You'll know it's ready when it smells like toasted hazelnuts and has tiny brown flecks at the bottom. If you've never made brown butter before, try using a light-colored pan so you can see the color changing more easily.
Storage and Freshness Tips
These treats are at their absolute best the day they're made, with that perfect balance of soft chewiness. Store any leftovers in an airtight container at room temperature for up to 3 days. For longer storage, wrap individual squares in wax paper and place in a freezer-safe container for up to 3 months. Let frozen treats thaw at room temperature for about 30 minutes before serving. Avoid refrigerating as this can make them become hard and lose their perfect texture.
Creative Variations
While this recipe is perfection as written, you can experiment with different cereal combinations to create your own signature treats. Try using all Fruity Pebbles for a more intense fruit flavor, or substitute Cocoa Pebbles for a chocolate twist. For holidays, consider adding a handful of matching colored sprinkles or a drizzle of white chocolate over the top. During summer, fold in 1 cup of freeze-dried strawberries or raspberries for extra berry punch that complements the fruity cereal flavors.
 Pin it
Frequently Asked Questions
- → Why brown the butter for these Fruity Pebble Treats?
Browning the butter adds a rich, nutty flavor that balances the sweetness of the marshmallows and fruity cereal. This simple step elevates the treats with a more complex flavor profile that regular melted butter doesn't provide.
- → Can I use only Fruity Pebbles instead of mixing with Rice Krispies?
Yes, you can use 10 cups of Fruity Pebbles alone, but the Rice Krispies help balance the sweetness and provide a more neutral base that lets the fruity flavor shine without being overwhelming.
- → How long do these treats stay fresh?
Stored in an airtight container at room temperature, these treats remain fresh for 3-4 days. For best texture, avoid refrigerating them as this can make them hard.
- → Can I add other ingredients to these treats?
Absolutely! Consider adding white chocolate chips, sprinkles, or even a drizzle of white chocolate on top after they've set for extra flavor and visual appeal.
- → What's the best way to prevent the treats from sticking to the pan?
Line your 9x13 pan with parchment paper with overhang on the sides, or coat it with non-stick cooking spray. For even easier handling, you can also lightly butter your hands when pressing the mixture into the pan.
- → How do I get clean cuts when serving?
For perfect squares, let the treats cool completely before cutting. Using a knife dipped in hot water and wiped dry between cuts will give you clean edges.