 Pin it
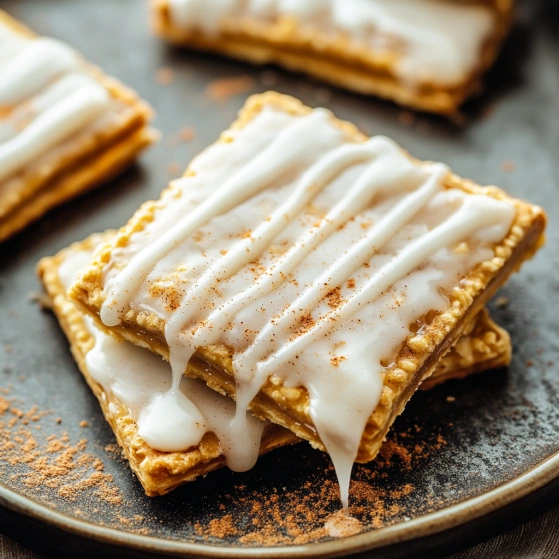
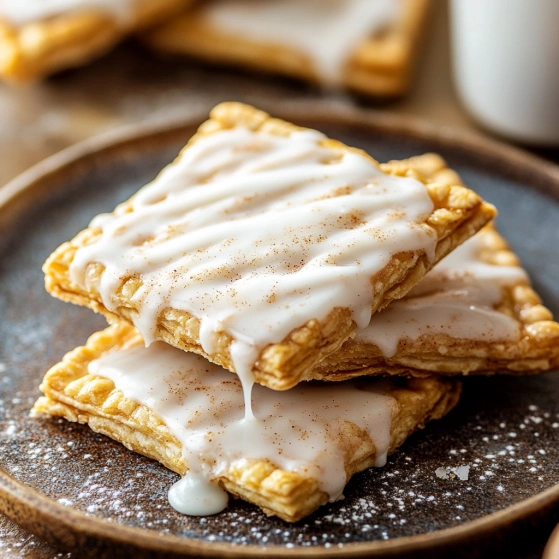
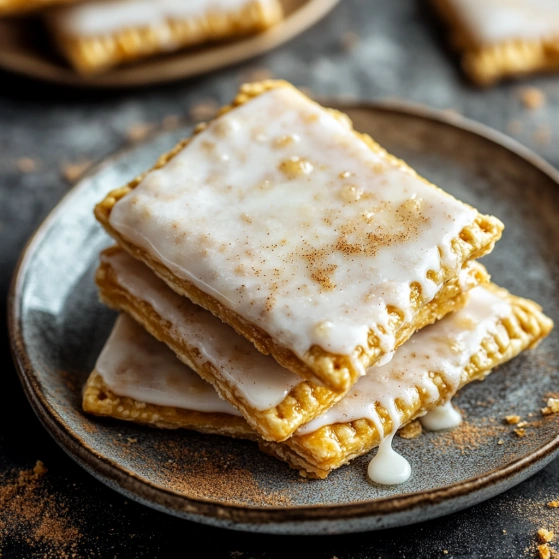
This nostalgia-inducing homemade version of brown sugar Pop Tarts brings all the comfort of the classic breakfast treat but with real ingredients and even better flavor. The buttery, flaky pastry encases a warmly spiced brown sugar filling, all topped with a sweet vanilla glaze that sets to perfection.
I first made these for my nieces during a sleepover weekend, and now they insist on helping make a batch whenever they visit. The joy on their faces when they bite into a still-warm pastry with melty filling makes the effort entirely worthwhile.
Ingredients
- All purpose flour: Forms the base of our pastry dough creating the perfect flaky texture
- Cold unsalted butter: Creates those essential layers in the pastry for maximum flakiness
- Brown sugar: Provides that classic caramelized flavor and moist texture in the filling
- Ground cinnamon: Adds warmth and that signature Pop Tart spice profile
- Powdered sugar: Creates a smooth, glossy frosting that sets beautifully on top
For best results, use European style butter with higher fat content for an even flakier pastry. Make sure your butter stays very cold until the moment it enters the oven.
Step-by-Step Instructions
- Prepare the Pastry Dough:
- Whisk flour, salt and sugar in a large bowl until well combined. Add the cold cubed butter and work it into the flour mixture using a pastry cutter or your fingertips. Work quickly to maintain cold temperature, stopping when the mixture resembles coarse pebbles with some larger butter pieces remaining. Drizzle in ice water one tablespoon at a time, gently stirring with a fork until the dough just holds together when pinched. Divide into two equal portions, form into discs, wrap in plastic and refrigerate for at least 30 minutes to relax the gluten.
- Create the Filling:
- Mix brown sugar, cinnamon and flour in a bowl until thoroughly combined. The flour helps prevent the filling from becoming too runny during baking. Make sure there are no lumps in the brown sugar for an even texture throughout each pastry.
- Roll and Cut the Dough:
- On a lightly floured surface, roll one disc of dough to approximately 1/8 inch thickness, maintaining a rectangular shape as much as possible. Use a ruler and knife or pizza cutter to cut rectangles measuring approximately 3×4 inches. Repeat with the second disc, ensuring you have an equal number of rectangles from each portion of dough.
- Assemble the Pop Tarts:
- Place half of your rectangles on a parchment lined baking sheet. Add a heaping tablespoon of filling to the center of each, spreading it slightly but leaving a 1/2 inch border around all edges. Brush the borders lightly with water to help seal, then top with the remaining rectangles. Press firmly around all edges with the tines of a fork to seal completely. Poke several holes in the top of each tart to allow steam to escape during baking.
- Bake to Golden Perfection:
- Preheat your oven to 350°F and position a rack in the center. Bake the prepared tarts for 23 to 27 minutes, rotating the pan halfway through, until the edges are golden brown and the tops have puffed slightly. Allow to cool on the baking sheet for 5 minutes before transferring to a wire rack to cool completely.
- Frost and Decorate:
- Whisk together powdered sugar, milk, and vanilla extract until smooth and pourable but not overly runny. Spoon or spread the frosting over each completely cooled tart, allowing it to drip slightly down the sides. Immediately add sprinkles if using, before the frosting sets. Allow the frosting to set completely before serving or storing.
 Pin it
My absolute favorite part of this recipe is the moment the kitchen fills with the aroma of buttery pastry and warm cinnamon. It reminds me of Saturday mornings from childhood, but these homemade versions have such a satisfying texture that store bought versions simply cannot match.
Storage and Make Ahead
These brown sugar Pop Tarts will stay fresh at room temperature in an airtight container for up to 3 days. For longer storage, refrigerate for up to a week. If making ahead, you can prepare and assemble the unbaked tarts, then freeze them on a baking sheet before transferring to a freezer bag. Bake directly from frozen, adding 3 to 5 minutes to the baking time. I recommend frosting them only after baking and cooling for the best texture.
Variations to Try
The beauty of homemade Pop Tarts is their versatility. Swap the brown sugar filling for strawberry jam, nutella, apple butter, or even a savory cheese filling for an unexpected twist. You can also experiment with the frosting by adding a tablespoon of maple syrup or a dash of cinnamon. For chocolate lovers, add 1 tablespoon of cocoa powder to the frosting and top with chocolate sprinkles.
Serving Suggestions
While delicious at room temperature, these brown sugar Pop Tarts reach new heights when lightly toasted until warm. Serve alongside fresh fruit for breakfast or brunch, or transform them into an impressive dessert by warming slightly and topping with a scoop of vanilla ice cream. For a special touch, drizzle caramel sauce over the top and add a sprinkle of flaky sea salt.
The History Behind the Recipe
Pop Tarts were first introduced in the 1960s as a convenient breakfast option, with brown sugar cinnamon becoming one of the most beloved flavors. This homemade version honors the nostalgic taste while elevating it with real butter, pure vanilla, and no artificial ingredients. The technique of sealing fillings inside pastry dates back centuries across many cultures, from British hand pies to Italian crostatas, making this recipe part of a rich culinary tradition of portable treats.
 Pin it
Frequently Asked Questions
- → Can I make these pop tarts ahead of time?
Yes! You can prepare the dough and filling up to 2 days in advance and store them separately in the refrigerator. You can also fully assemble and bake the tarts, then store them unfrosted in an airtight container for up to 3 days. Add the frosting just before serving for the best texture.
- → How do I store leftover pop tarts?
Store completely cooled pop tarts in an airtight container at room temperature for 2-3 days or refrigerate for up to a week. You can also freeze unfrosted tarts for up to 3 months. Thaw at room temperature and add fresh frosting before serving.
- → Can I use a different filling?
Absolutely! While the brown sugar-cinnamon filling is classic, you can substitute jam, Nutella, peanut butter, or apple pie filling. Just make sure any filling is thick enough not to leak during baking.
- → Why did my pop tarts leak during baking?
Leaking typically happens when the edges aren't sealed properly or there's too much filling. Make sure to press firmly with a fork all around the edges and don't overfill. A tablespoon of filling per tart is usually sufficient.
- → Can I make these with store-bought pie crust?
Yes, refrigerated pie crust works as a time-saving alternative. Roll it slightly thinner than it comes, cut into rectangles, and proceed with the filling and baking instructions. The texture will be slightly different but still delicious.
- → How do I reheat these pop tarts?
For the best texture, reheat unfrosted pop tarts in a toaster oven for 1-2 minutes. If already frosted, place them on a baking sheet and warm in a 300°F oven for about 5 minutes. Microwave for 10-15 seconds if you're in a hurry, though this may soften the crust.
