
 Pin it
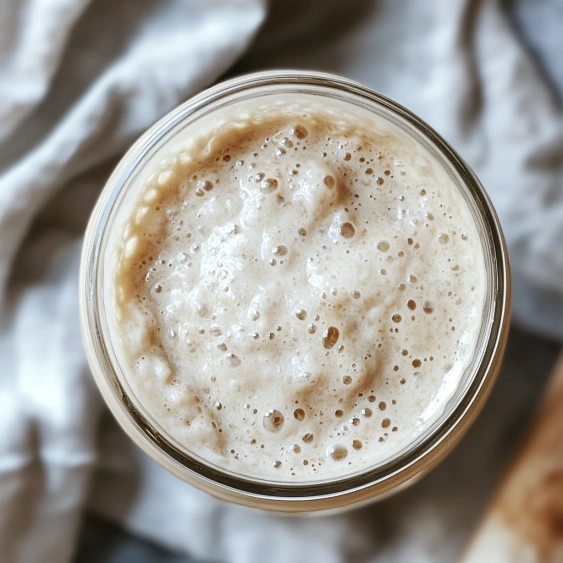
This simple sourdough starter unlocks the gateway to homemade artisan bread baking, connecting you to centuries-old traditions while requiring just flour and water. The magical transformation from basic ingredients to a living culture will revolutionize your baking, creating depth of flavor impossible to achieve with commercial yeast.
I started my first sourdough starter during the pandemic lockdowns and named him Bubbles. Three years later, he's still thriving on my counter and has produced hundreds of loaves, pancakes, and even chocolate chip cookies with a tangy twist.
Ingredients
- All purpose flour: Provides the perfect balance of starch and protein for wild yeast to thrive
- Lukewarm water: Activates natural yeast and bacteria without killing beneficial microorganisms
- Clean glass or plastic container: Allows you to monitor fermentation progress
- Warm spot in your kitchen: Creates the ideal environment for fermentation
Step-by-Step Instructions
- Mix Flour and Water:
- Combine one cup of all purpose flour with half cup of lukewarm water in your container. Stir vigorously with a wooden spoon until completely smooth with no dry spots. The consistency should resemble thick pancake batter. This initial mixture creates the environment for wild yeast and beneficial bacteria to begin multiplying.
- Cover and Rest:
- Place a clean kitchen towel or loosely set plastic wrap over your container. The covering prevents contaminants from falling in while allowing air exchange which is crucial for fermentation. Position the container in a consistently warm spot in your kitchen between 70 75°F away from drafts and direct sunlight where temperature fluctuations could slow development.
- Allow Initial Fermentation:
- Let your mixture sit undisturbed for a full 24 hours. During this time, naturally occurring yeasts and bacteria from the flour and environment begin consuming starches and multiplying. You might notice small bubbles forming on the surface and a slightly tangy aroma developing. This signifies fermentation has successfully begun.
- Discard and Feed:
- After the first 24 hours, remove half of your starter approximately half cup and discard it. This removal balances acidity levels and provides space for new growth. To the remaining mixture, add fresh food half cup flour and quarter cup lukewarm water and stir thoroughly until smooth. This feeding introduces new food for the growing yeast population.
- Repeat Feeding Routine:
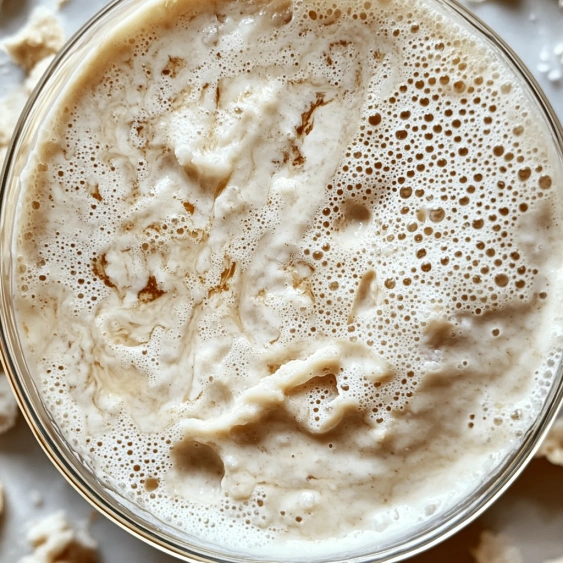
- Cover the container again and continue this daily feeding schedule, always discarding half before adding fresh flour and water. Be patient as your starter develops over the next 5 7 days. Your starter is ready when it reliably doubles in volume within 6 8 hours after feeding, has a pleasant sour aroma, and shows consistent bubbling activity throughout.
 Pin it
My favorite moment with sourdough occurred when my six year old niece named our starter Bob and insisted on helping with daily feedings. She was fascinated watching the bubbles form after each feeding and now asks to make sourdough pancakes whenever she visits.
Troubleshooting Your Starter
If your starter seems sluggish after several days with minimal bubbling activity, try changing your flour. Some bakers find using whole wheat or rye flour for a feeding or two can jumpstart fermentation due to higher mineral content. Additionally, ensure your water is dechlorinated if possible, as chlorine can inhibit microbial growth. Water left out overnight allows chlorine to evaporate. Temperature also plays a critical role in starter development. If your kitchen is cooler than 70°F, consider placing your starter near your refrigerator vent or on top of your refrigerator where ambient heat creates a warmer microenvironment.
Maintaining Your Established Starter
Once your starter is reliably active, you have options for maintenance based on your baking frequency. For weekly bakers, store your starter in the refrigerator and feed it once weekly. Simply remove from refrigeration, discard half, feed with equal weights of flour and water, let sit at room temperature for 2 3 hours until bubbly, then return to refrigeration. For daily bakers, keep your starter at room temperature and feed daily, discarding half each time. When traveling or taking a break from baking, you can even dehydrate your starter by spreading thinly on parchment paper and letting it dry completely. The dried starter can be stored for months and reactivated by soaking in water and resuming regular feedings.
 Pin it
Beyond Basic Bread
Your mature sourdough starter opens possibilities far beyond artisan loaves. Use discarded starter in pancakes, waffles, biscuits, pizza dough, or cookies for a subtle tangy flavor and improved texture. For pancakes, simply mix one cup of starter discard with one egg, two tablespoons of sugar, two tablespoons of melted butter, and half teaspoon of salt. Add half teaspoon of baking soda just before cooking for fluffy, tangy pancakes that will transform your breakfast routine. Sourdough discard also makes excellent chocolate cake with enhanced depth of flavor and moist crumb structure that commercial leaveners cannot achieve.
Cultural Heritage of Sourdough
Sourdough fermentation represents one of the oldest food technologies humans developed, dating back to ancient Egypt approximately 5000 years ago. Before commercial yeast became available in the 1800s, all bread relied on wild fermentation. Sourdough became particularly significant during the California Gold Rush, where miners carried starters in their packs, valuing them as essential tools for survival. San Francisco sourdough became famous for its unique tangy profile attributed to a specific strain of bacteria named Lactobacillus sanfranciscensis. By maintaining your own starter, you connect to this rich cultural heritage while creating your unique microbial community adapted to your local environment.
Frequently Asked Questions
- → How do I know when my sourdough starter is ready to use?
Your starter is ready when it consistently doubles in volume within 4-6 hours after feeding, shows lots of bubbles throughout, and has a pleasant, tangy aroma. This typically takes 5-7 days from when you first create it. A good test is the float test: place a small amount in water - if it floats, it's ready.
- → Why do I need to discard half of my starter during feedings?
Discarding prevents your starter from growing too large and helps maintain the proper acidity level. Without discarding, the starter would become too acidic and the yeast activity would slow down. Discarding also ensures the yeast colony has enough fresh food (flour) to thrive.
- → Can I use different types of flour for my sourdough starter?
Yes! While all-purpose flour works well, you can use whole wheat, rye, or other grain flours. Whole grain flours often ferment more quickly due to higher mineral content. Some bakers use a mixture of flours or start with whole grain and transition to all-purpose once established.
- → What's the best temperature for developing a sourdough starter?
The ideal temperature range is between 70-85°F (21-29°C). Cooler temperatures slow fermentation, while warmer speeds it up. Consistency is key, so find a spot in your kitchen with a stable temperature. Some bakers use a proofing box or turn on the oven light to create a warm environment.
- → How do I maintain my starter long-term?
Once established, you can keep your starter in the refrigerator and feed it just once a week. To use it, take it out 1-2 days before baking and resume daily feedings at room temperature to reactivate it. For long-term storage, you can even dry portions of your starter as a backup.
- → What can I do with the sourdough discard?
Instead of throwing away the discard, use it to make pancakes, waffles, crackers, pizza dough, or quick breads. While discard won't provide much leavening power, it adds great flavor to baked goods. Many bakers keep a separate container in the refrigerator for collecting discard until they have enough for a recipe.